
When the chill sets in across Stoke-on-Trent, it’s time to think about tucking our gardens in for the winter. For clematis lovers, a bit of prep work now is the secret to a spectacular show of flowers next year. As local gardening specialists, we know that looking after your clematis through the colder months boils down to a few key things: protecting the roots from frost, getting the pruning right for its type, and making sure it has a final good drink before the ground freezes solid. It sounds simple, and it is, but getting it right is crucial for survival and that burst of spring colour we all look forward to.
For quotes and bookings, call or email us here.
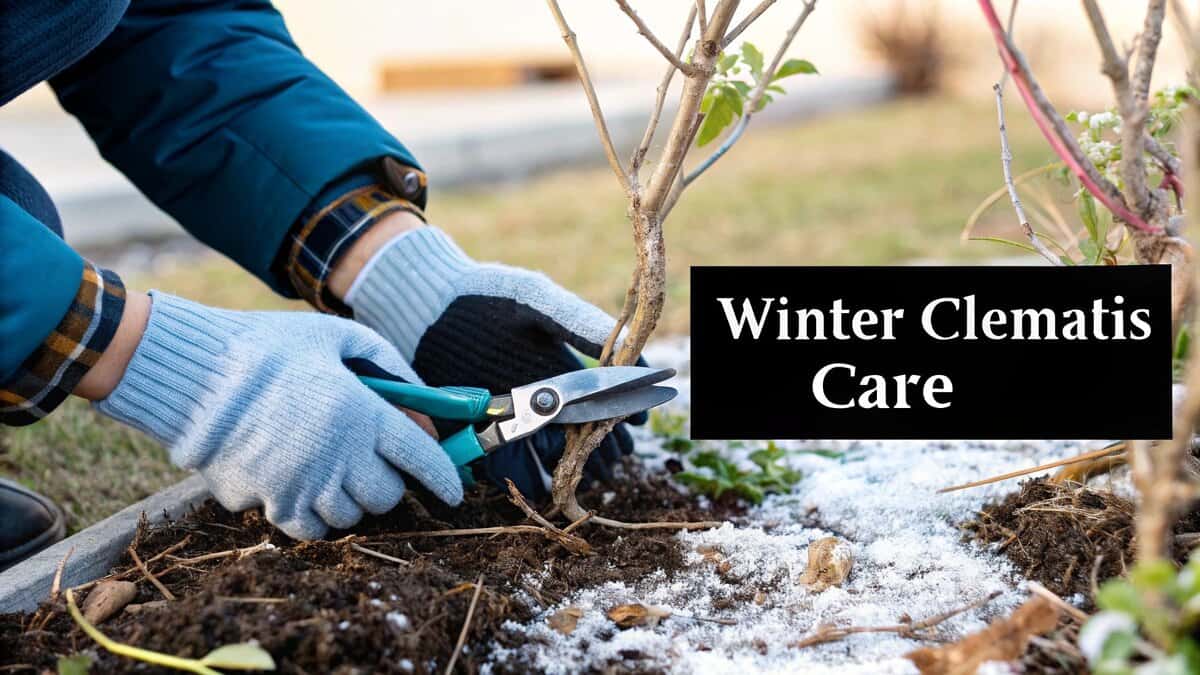
Your Winter Clematis Care Plan
As the crisp autumn air takes hold, it’s the perfect moment to give one of the garden’s star climbers a little attention. Don’t worry, winter care for clematis isn’t complicated. It’s really just about understanding what your specific plant needs to rest up safely.
The main jobs are all about protecting the plant’s foundation—its roots—and tidying up the top growth. Clematis are surprisingly tough. Many can handle the cold, but a little winter protection goes a long way, especially with the damp, frosty winters we get here in Staffordshire.
Prepping for a Stoke-on-Trent Winter
Your winter game plan should focus on a few simple tasks:
- Know Your Pruning Group: This is the big one. It tells you when and how to prune. Get this wrong, and you could accidentally snip off next year’s flower buds.
- Protect the Roots: A thick layer of mulch is like a cosy duvet for your clematis, protecting its shallow root system from the biting cold and frost.
- A Final Watering: Give the plant a good soak before the first hard frost. This stops the roots from drying out over winter, which is a surprisingly common problem in our local climate.
One of the most common mistakes we see in gardens across Stoke-on-Trent is treating all clematis the same. A Group 1 variety, like a Montana, flowers on old wood, so a hard prune in autumn means no flowers next year. On the other hand, a Group 3, like the popular Jackmanii, flowers on new growth, so you want to cut it back hard to get a fantastic display.
To help you get it right, here’s a quick breakdown of what each pruning group needs over winter.
Quick Winter Care Guide by Clematis Group
This table summarizes the essential winter actions for each of the three main clematis pruning groups. It’s a handy reference for Stoke-on-Trent gardeners to quickly figure out what their plant needs.
| Clematis Group | Winter Pruning Action | Primary Concern |
|---|---|---|
| Group 1 | No pruning needed until after spring flowering. | Protecting the old wood where next year’s flowers will form. |
| Group 2 | A very light tidy-up at most. The main prune is in spring. | Avoiding frost damage to the delicate flower buds on old stems. |
| Group 3 | Prune hard down to about 30cm in late winter/early spring. | Ensuring vigorous new growth for a full season of flowers. |
Following these guidelines ensures you’re working with your plant’s natural cycle, not against it.
Clematis are truly some of the best climbing plants for fences and pergolas, bringing stunning colour and life to any vertical space. With this simple winter routine, you can make sure these garden stars will be thriving in your Stoke-on-Trent garden for many years to come.
Getting Your Clematis Ready for a Stoke-on-Trent Winter
The big question we always get asked is, “Should I prune my clematis before winter?” It’s a great question, but the answer isn’t a simple yes or no. It all comes down to what type of clematis you’re growing. Get the timing wrong, and you could accidentally chop off all of next year’s flowers.
So, the very first job is to figure out which clematis you have. It makes all the difference.
For example, Group 1 clematis (like the popular montana varieties) produce their flowers on the woody stems that grew the previous year. If you give them a hard prune in autumn, you’re literally cutting away the spring flower show. A big mistake!
On the other hand, Group 3 types are the complete opposite. They flower on brand new shoots that grow each spring. These beauties love a good, hard prune before winter, as it forces them to send up a whole load of fresh, vigorous stems ready to burst into flower.
What Pruning Group Is My Clematis?
Making the right cut starts with knowing your plant. Don’t worry, it’s easier than it sounds. The simplest way to figure it out is just to remember when it flowers. This little infographic should help you nail it down.

As you can see, it all boils down to whether the flowers grow on old wood from last year or fresh new wood from this year. Getting that one detail right is the secret to a stunning display next summer.
Once you know your group, the actual pruning is pretty straightforward. You just need a pair of clean, sharp secateurs. Always make your cut just above a healthy-looking pair of buds. This gives you a nice, clean wound that heals quickly and helps stop diseases from getting in. It’s a bit like taking off old flowers, and you can read more about what is deadheading flowers in our other guide.
Here’s our top tip for local gardeners: If you’ve just moved into a house in Stoke and inherited a mystery clematis, don’t panic! The best thing you can do is simply leave it alone for a year and watch to see where the flowers appear. It’s far better to miss one prune than to cut back a Group 1 clematis and have a bare wall next spring.
Insulating Clematis Roots from the Cold
While we often focus on protecting the vines we can see, the real secret to helping your clematis survive the winter is all happening underground. If there’s one thing you do for your plant this season, make it this: insulate its roots. It’s like tucking it in with a thick duvet for the cold Stoke-on-Trent nights.
Clematis roots are quite shallow, which leaves them exposed to the freeze-thaw cycles we get so often in Staffordshire. This constant change can wreck the delicate root structure and even push the plant right out of the soil. A good layer of mulch is your best defence.

Choosing and Applying the Right Mulch
Timing is everything. You want to get your mulch down after the first light frost but before the ground freezes solid. If you do it too early, you risk trapping warmth in the soil, which can confuse the plant and stop it from going properly dormant.
Here in the UK, we have a few great options for mulching materials:
- Well-rotted manure: A classic choice that not only insulates but feeds the soil as it breaks down over winter.
- Leaf mould: If you’ve been saving your autumn leaves, this is a fantastic and completely free option.
- Bark chippings: These look neat, last a long time, and provide a very stable layer of insulation.
We see this mistake all the time: people pile mulch right up against the stems. This is a big no-no, as it traps moisture and can cause the crown to rot. Always leave a small gap—about the size of a teacup—around the base of the stems to let the air circulate.
You’ll want to apply a really generous layer, aiming for four to six inches thick. Spread it out to cover the entire root zone, which usually extends at least a foot out from the plant’s base. The principles of trapping air to prevent heat loss are universal; it’s the same idea behind why homes use insulated and thermal solutions to stay warm. For more detailed local guidance, have a look at our guide with tips on mulching. This simple job really is the best thing you can do to protect your clematis from a harsh winter.
Mastering Winter Watering and Moisture
Watering the garden in late autumn might feel a bit counterintuitive, but for your clematis, it’s a critical step for winter survival. Here in Stoke-on-Trent, we get so focused on the falling temperatures that it’s easy to overlook a much sneakier threat: winter dehydration.
The real danger comes from a combination of dry, cold winds and frozen ground. When the soil is frozen solid, your clematis simply can’t absorb any water, leaving it to dry out.
That’s why giving your clematis a really good, deep watering in late autumn is so important. Before we get that first proper hard frost, you want to make sure the rootball is thoroughly hydrated. Think of it as giving the plant one last big drink to see it through until the spring thaw.
The Right Way to Water Before Winter
Proper watering is everything. Clematis have fairly shallow roots that can dry out much faster than you’d think, even when it’s cold.
As a general rule, aim to give your plant about 25 mm (one inch) of water each week during any dry spells in autumn, right up until the ground freezes. We have seen time and time again: more clematis are lost to winter drought than to the cold itself. You can find more great tips on winter hydration over at East River Nursery.
When you follow up this pre-winter soak with a thick layer of mulch (like we talked about earlier), you’re creating the perfect insulated, moisture-rich environment for the roots. It’s a simple task that makes a world of difference for the health of your vine and the quality of blooms you’ll get next year.
A simple trick we always share is to check the soil yourself. Before that final watering, stick your finger a couple of inches into the ground near the base of the plant. If it feels dry, it’s time for a deep soak. Don’t just give it a quick spray; let a hose trickle slowly at the base for a good 15-20 minutes to be sure the water penetrates deep down where it’s needed most.
Winter Care for Clematis in Pots
Growing clematis in containers is a fantastic way to bring that classic vertical beauty to patios and smaller gardens here in Stoke-on-Trent. But when winter rolls around, these potted plants are a lot more vulnerable than their cousins planted in the garden border. Their roots are completely exposed, with only a thin layer of plastic or terracotta between them and the biting cold.
That exposure means the soil can freeze solid in a heartbeat, which not only damages the delicate roots but also locks up any available water. A bit of extra protection isn’t just a nice-to-have; it’s absolutely crucial if you want your clematis to burst back into life next spring.

Protecting Your Potted Clematis
Thankfully, looking after your potted clematis through the cold months is pretty straightforward. The main goal is simple: insulate the pot to shield the roots from the worst of the Staffordshire chill.
Here are a few tried-and-tested methods that work a treat:
- Find a Sheltered Spot: The easiest thing you can do is move the pot. Tucking it right up against the house wall will give it immediate protection from harsh winds and driving rain.
- Wrap It Up Warm: For a proper winter coat, wrap the entire pot in bubble wrap or hessian. Just tie it on with some garden twine, but double-check that you haven’t blocked the drainage holes at the bottom—soggy soil is a real killer.
- Get Its Feet Off the Floor: Pop the container up on “pot feet” or even a couple of old bricks. This simple trick stops the base from freezing to the cold ground and massively improves drainage.
A classic mistake we see is people overwatering their pots in winter. You don’t want the compost to dry out completely, but it shouldn’t be waterlogged either. The best way to check is to poke your finger about an inch into the soil every few weeks. Only give it a splash of water if it feels dry.
Don’t forget that the size of the pot makes a huge difference. A larger volume of soil provides much better natural insulation for the roots. Some of the more tender varieties, like the Florida and Cirrhosa types, will definitely need the full wrapping treatment to get through our winters. If you want to dive deeper, you can find more clematis care specifics from the experts to really give your plants the best possible start for next year.
Need a Hand? Winter Garden Prep in Stoke-on-Trent
Let’s be honest, getting the whole garden buttoned up for a Stoke-on-Trent winter is a big job. The weather can turn on a sixpence, and knowing exactly what to do and when can feel a bit overwhelming. If you’re looking at your garden and just don’t know where to start, we can help.
We offer a full winter-ready service for gardens right across Stoke-on-Trent and Staffordshire. Think of us as your garden’s personal pit crew, getting everything tuned up for the cold spell. We’ll handle the tricky clematis pruning, get the right protective mulch down, and make sure every plant is tucked in and safe.
A bit of effort now to prepare your garden for winter isn’t just about damage control. It’s an investment in next year’s blooms. A garden that’s been properly put to bed for the winter always comes back with more vigour in the spring.
We can take all that winter prep off your to-do list, giving you peace of mind that it’s all been done correctly. And while we’re sorting out your climbers and shrubs, it’s the perfect time to give your grass some love too. You might find our guide on winter lawn care tips useful.
Get in touch for a chat, and we can figure out exactly what your garden needs to rest easy this winter.
Common Questions About Winter Clematis Care
Even with a solid plan, you’re bound to have a few questions when getting your garden ready for winter. Here in Stoke-on-Trent, we hear the same worries from gardeners year after year when it comes to their clematis. Let’s get them answered.
A big one is whether the whole plant needs to be wrapped up. For most hardy clematis varieties planted in the ground, that’s a definite no. In fact, you can do more harm than good by wrapping the entire vine—it often traps moisture against the stems, which can lead to rot.
Your time and energy are much better spent protecting the roots. That’s the real weak spot, and a thick blanket of mulch is the best defence against the sharp Staffordshire frosts we all know too well.
Should I Cover My Entire Clematis Plant in Winter?
No, you really don’t need to. The top growth on most clematis is surprisingly tough and can handle the cold just fine. Even if a few of the thinner stems die back a bit, the plant will push out vigorous new growth from the base come spring.
The main job is to insulate those roots.
- Pile on a good, thick layer of mulch—about 4-6 inches deep—all around the base of the plant.
- Things like bark chips, straw, or well-rotted compost work beautifully.
- This simple step is all it takes to shield the shallow root system from freezing solid.
What If I Don’t Know My Clematis Type?
Ah, the mystery clematis! If you’re not sure which pruning group you’re dealing with, the best advice is to simply wait and see. It can be tempting to give it a hard prune in autumn, but you risk cutting off all of next year’s flower buds.
Hold off until late winter, around February, and have a close look. You’re looking for new buds. If you spot plump, healthy buds swelling on the old, woody stems, you’ve likely got a Group 1 or 2. In that case, just give it a tidy-up after it finishes flowering. If you see all the new shoots coming straight from the ground, it’s almost certainly a Group 3. You can then confidently cut all the old stems back to about a foot high.
A key takeaway for all Stoke-on-Trent gardeners: protecting the base is far more important than worrying about the top. Focus your winter care efforts on mulching the roots well, and your clematis will be in a great position to thrive next year.
Our Services
Feeling a bit overwhelmed with your garden’s winter prep? Let the experts at Stoke Gardening Services take care of it for you. We offer professional garden maintenance across the region, making sure your plants are perfectly protected for the cold months ahead. Contact us today to see how we can help your garden flourish.
For quotes and bookings, call or email us here.